I was supposed to make this into a jack-o-lantern cake, but I just couldn't bring myself to do it. I was so happy that it actually turned out that I had to leave it as a pretty pumpkin. I think this would be an awesome addition or substitution for a pumpkin pie on Thanksgiving.
What You Need:
Pumpkin Cake Recipe*
Pumpkin-Shaped Pan
or bundt pan
Cream Cheese Icing
1.5 lbs. fondant colored orange
Small amount fondant colored green (about the size of a tennis ball)
*Note: The pan I used, "The Great Pumpkin Pan" uses 10 cups of batter. That's about 1 1/2 times my pumpkin cake recipe.
Bake the cake. For this cake, I only used 4 cups in each half of
the pan. (It calls for 10 cups total, but I was worried about overflow.)
When it's cooled, I level the cakes. To make sure that they line up correctly, I use my
cake leveler
set to the same height for each half. (If it is not the same height, they don't line up just so. One side will be wider and one will be skinnier.)
Spread some frosting in the middle of the cake to stick the two cakes together well.
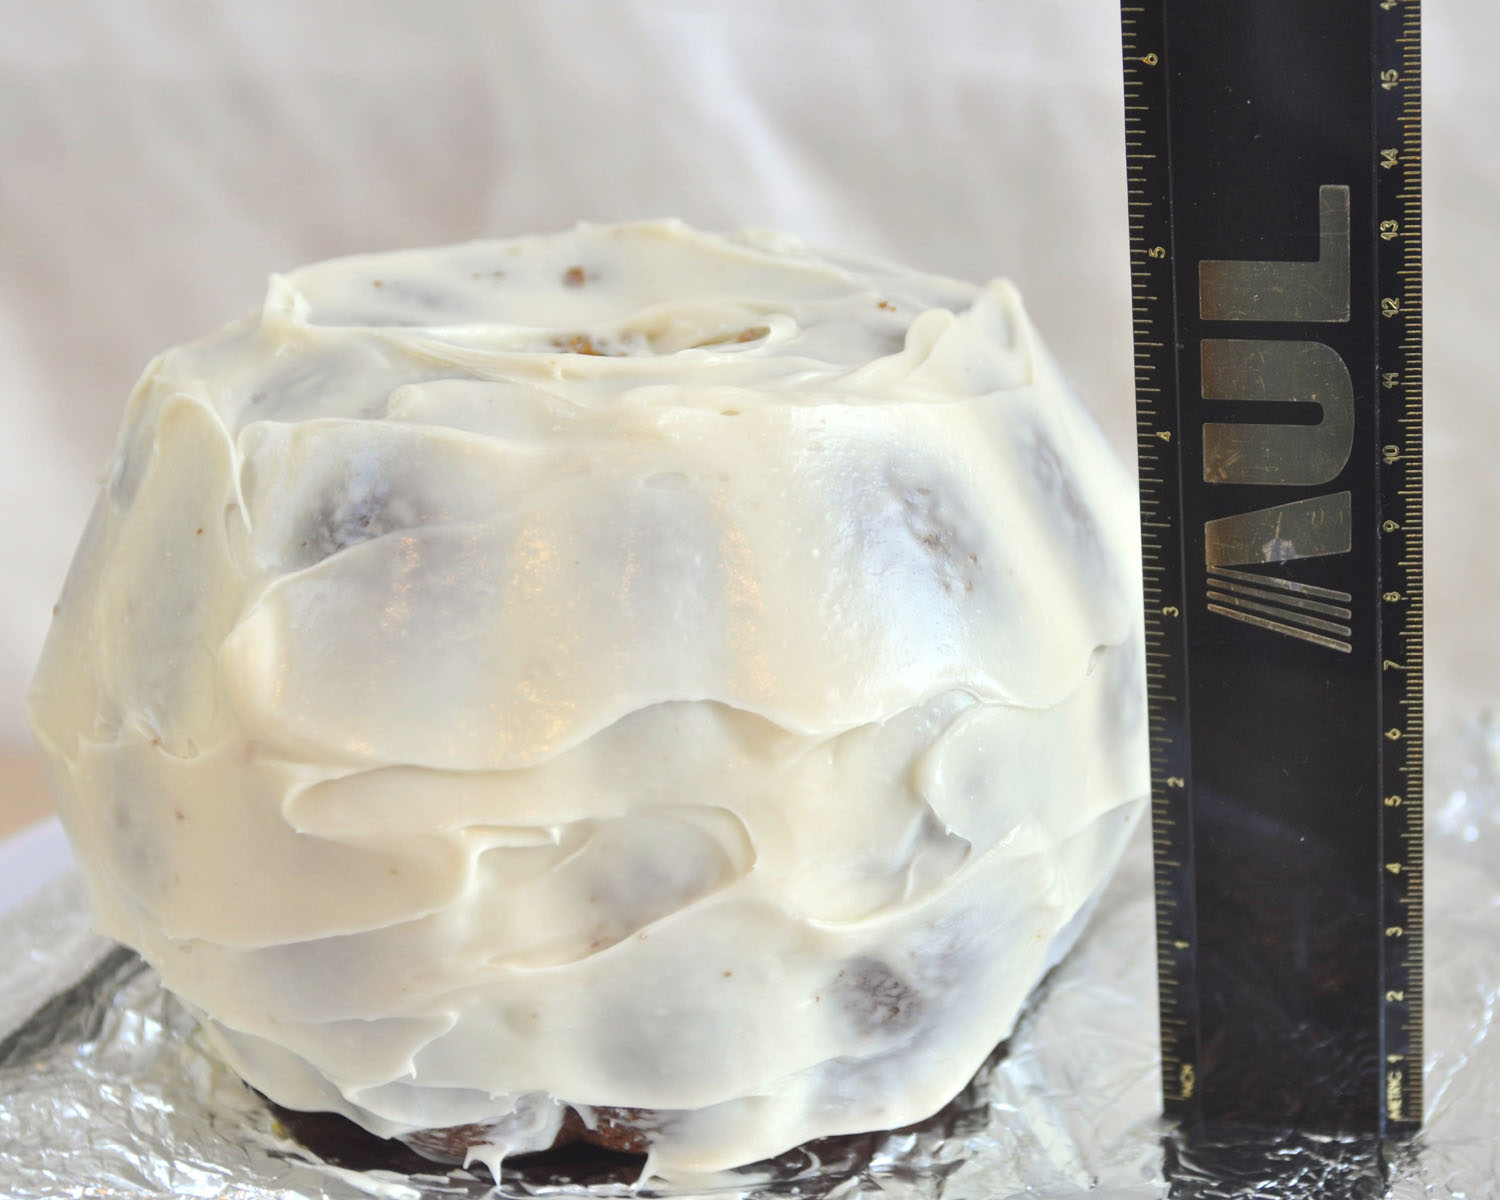
Cover the outside of the cake with frosting. It doesn't have to be pretty, it just acts as a glue for the fondant.
To figure out how much fondant you need, you want to measure the cake. The cake is about 5" round in the widest part. And it's about 5" tall. A guide for how much fondant you need can be found
here.
And my complete tutorial on
how to cover a cake with fondant is here.
You need to roll that fondant on a mat or a piece of parchment or waxed paper that's generously greased with shortening. Roll it into a circle that's equal to two-times the height
plus the diameter of the cake. So, for this cake, I need two times the 5" height (10") plus 5" diameter equals 15" circle.
(I'm realizing I neglected to take a lot of the step-by-step photos here, so please check out my fondant tutorial if you've never done this before. It is a more complete guide.)
To get the fondant on to the cake, raise the cake up on a bowl that is a little smaller than the bottom of the cake. Slide your arm underneath your rolling surface, line it up with the cake, and flip the fondant over on top of the cake, peeling back the mat or paper.
Smoothing this actually proved to be a little easier than I'd anticipated. I just kind of slid my hand down the cake, and it smoothed really well. You just want to work to get the big wrinkles below the surface of the cake. And you can use a pair of clean kitchen shears to clip off the extra fondant that hangs below the cake.
Then you just tuck the bottom parts in and place the cake on your serving plate. (I could not choose a serving plate, so this cake actually got transferred about 3 times before it landed here... and it held up pretty well to all of that abuse!)
To add the stem, leaves, and vines, I used green fondant. I marbeled some brown in with the green for the stem. (I think I'd like it better all green, though.) I used the back of a butter knife to make the indentations for the stem. And I used a maple leaf cookie cutter to make the leaves. Brush the backs of them with a little clear vanilla, water or vodka to help keep them in place.
Click the Links Below to See:
What Fondant is the Best to Use
Other
Fall/Halloween/Thanksgiving Ideas
Other
Fondant Decorating Ideas
And don't forget, if you shop at
Amazon.com through my link
, you support this blog and its contents. Thank you!


No comments:
Post a Comment
Please note that comments containing profanity or those that are spam will not be approved on this website.